Can You Grow Tomatoes from Fast Food Seeds? Here's What Happened
Seeds from a fast food tomato can grow into a real plant — here's how to extract, germinate, and grow them successfully.
Can You Grow Tomatoes from Fast Food Seeds? Here's What Happened
Yes — seeds from a commercially sliced tomato can germinate and grow into a real, productive plant. Whether that tomato came from a grocery store, a backyard neighbor, or a fast food burger, if it was made from fresh fruit (not cooked or processed into sauce), the seeds inside are often still viable. The experiment is genuinely worth trying. But before you plant every tomato slice you come across, there are a few things worth understanding — about hybrid seeds, germination conditions, and why one of these plants outperformed the other by a wide margin come midsummer.
Quick Answer
Seeds from fresh store-bought or commercially prepared tomatoes can germinate and produce real fruit. These tomatoes are usually hybrids, so the plant you grow may differ slightly from the original, but it will still produce edible tomatoes. Success depends far more on germination temperature, soil moisture management, and whether you plant in ground versus a container than on where the seed originally came from.
What You're Actually Working With: Hybrid Seeds Explained
Commercial tomatoes — the kind you find sliced on a fast food burger or sitting in a grocery store bin — are almost always hybrid varieties. That means they were bred by crossing two parent varieties to produce consistent size, shelf life, and appearance.
When you save and grow seeds from a hybrid tomato, you're working with what's called an F2 generation plant. It won't be a clone of the original fruit. The plant might produce tomatoes that are smaller, differently shaped, or slightly different in flavor. That's completely fine. You'll still get a real tomato plant capable of a full harvest — it just may surprise you.
Commercial slicing tomatoes are also commonly determinate varieties, meaning they produce one concentrated fruit set, then wind down. Keep that in mind when you're making pruning decisions later.
Seed Extraction: Getting a Viable Seed Ready to Germinate
Not all seeds in a tomato slice are worth planting. Look for seeds that are plump and fully formed. Flat, thin, or underdeveloped seeds have low germination potential — skip those.
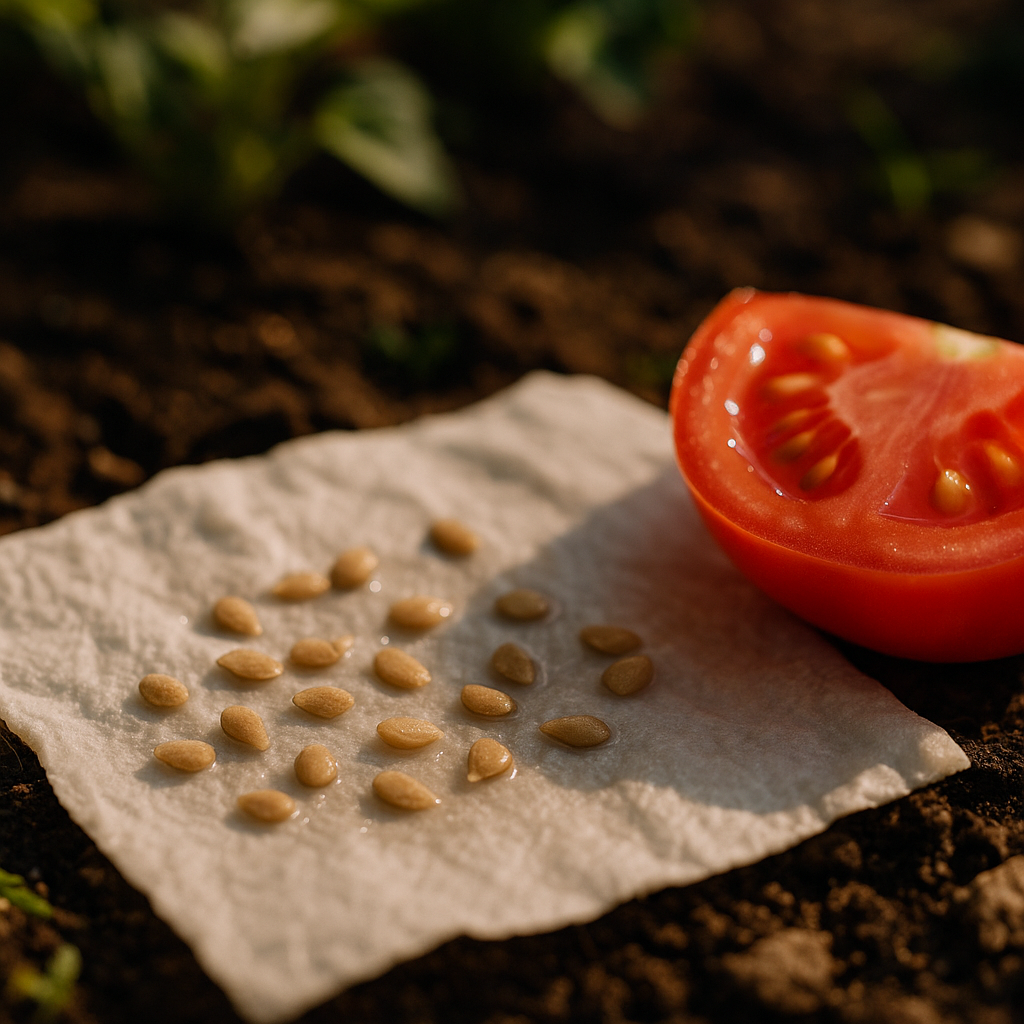
Tomato seeds are coated in a natural gelatinous layer that can suppress germination if left on. Removing it is simple:
- Pull two or three plump seeds from the tomato slice.
- Place them on a paper towel and gently rub to remove the gel coating.
- Let the seeds sit on the towel for a few minutes until the surface feels less slippery.
- Plant immediately, or allow to dry fully for an hour before storing briefly.
There's also a second method worth knowing: place the entire tomato slice directly onto moist potting soil, then cover it with a thin layer of additional mix. This works surprisingly well as a secondary experiment and often produces multiple seedlings from one slice. It's messier to manage at transplant time, but it's a great way to test viability without much effort.
Germination Setup: The Conditions That Actually Matter
This is where most beginners lose seeds before they ever get started. Getting germination right comes down to two things: soil moisture and soil temperature.
Pre-moisten your potting mix before you fill the container. Dry mix straight from the bag doesn't make good contact with the seed, and the first watering after planting often runs straight through before it can distribute evenly. Mix water into your potting mix in a bucket until it holds together like a wrung-out sponge, then fill your containers.
Use small cups or containers with drainage holes cut or punched into the bottom. Standing water at the root zone leads to rot before the seedling ever emerges.
For heat, a seedling heat mat is the single most impactful tool you can use for tomato germination. Tomatoes germinate based on soil temperature, not air temperature — and they want that soil between 70°F and 85°F. Room-temperature soil sitting on a cool surface in early spring often stays in the 60s, which slows germination significantly and produces inconsistent results. A heat mat under your containers can cut germination time roughly in half.
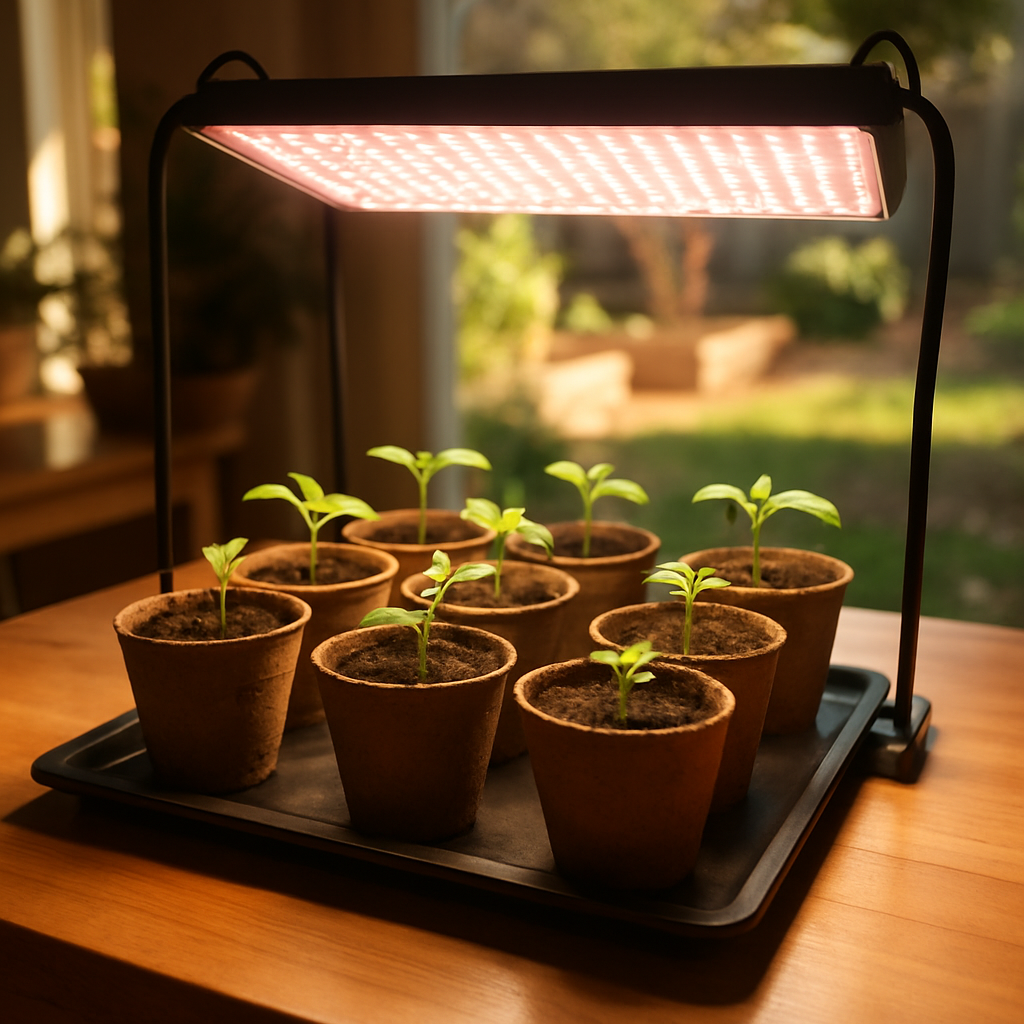
Once seedlings emerge, get a grow light above them immediately. Without adequate light, tomato seedlings stretch toward whatever source they can find and become weak and leggy within a week. An LED grow light positioned a few inches above the tray makes a visible difference.
Expect germination in 7–10 days under good conditions.
Transplanting: In Ground vs. Container — What the Experiment Actually Showed
Once your seedlings have their first set of true leaves and show strong green color, they're ready to move out — typically 3–4 weeks after germination, depending on your setup.
Planting in the Ground
In-ground planting is straightforward and forgiving:
- Pull back any existing mulch from the planting area.
- Dig a hole roughly twice the width of the root ball and deep enough to bury the stem up to the lowest leaves — tomatoes root along their buried stem.
- Add a small amount of all-purpose organic granular fertilizer at the bottom of the hole and work it into the loose soil so it doesn't sit directly against the roots.
- Backfill with your native soil, firm gently, and water in thoroughly.
- Replace mulch around the base, keeping it a few inches away from the stem itself.
Planting in a Container
Container growing works — but it requires more attention to detail from day one:
- Choose a container large enough for a full-sized tomato plant (5 gallons minimum; larger is better for determinate slicing tomatoes).
- Drill drainage holes in the bottom if they aren't already there.
- Fill with quality potting mix and work your fertilizer into the top few inches.
- Plant at the same depth as you would in ground, water thoroughly, and place your cage immediately — don't wait.
The in-ground plant in this experiment significantly outperformed the container plant by midsummer. That result had nothing to do with seed quality or soil brand. The in-ground plant had access to a much larger moisture reservoir, and the wood chip mulch around it dramatically slowed evaporation between waterings. The container plant, during a heat stretch, needed daily water and still showed stress. That's the honest tradeoff.
Ongoing Care Through the Season
Once flowers start forming, top-dress with additional organic fertilizer to support fruit development. Container plants need this more urgently than in-ground plants because nutrients leach out with every watering.
Check your lower leaves weekly. Early blight — brown spots with yellow halos on the lowest foliage — is common in tomatoes and spreads upward if ignored. It's not a crisis if you catch it early. Remove affected leaves with clean, sterilized pruners (wiped with isopropyl alcohol before and after), and the plant typically stays healthy above the damage. Do not cut the upper growth on a determinate variety — that's where your fruit set is coming from.
For containers specifically, add a layer of shredded leaf mulch or organic mulch to the surface of the soil. Bare potting mix in a container loses moisture fast. A few inches of mulch on top makes a measurable difference in how long the soil stays adequately moist between waterings.
Common Mistakes
- Skipping the heat mat. Room-temperature soil in early spring often stalls tomato germination for weeks. Soil warmth matters more than air warmth at this stage. If you're starting tomatoes indoors and getting inconsistent or slow germination, soil temperature is the first thing to check.
- Planting into dry potting mix straight from the bag. Dry soil pulls away from the sides of the container when it gets its first drink, leaving air gaps around the seed. Always pre-moisten your mix before planting.
- Letting a container tomato dry out during peak summer heat. A large tomato plant in a small container can exhaust available moisture in a single hot day. Missing even one watering during a heat stretch can halt flower and fruit production. Container growers need a daily check-in routine, not a casual one.
- Ignoring the first signs of early blight. A few spotted lower leaves seem harmless. They aren't — fungal spores spread upward quickly. Remove affected leaves early with clean pruners and you stay ahead of the problem. Wait too long and you're playing catch-up all season.
- Not mulching containers. This is the easiest fix most container growers skip. A few inches of organic mulch on the surface of your container soil keeps moisture in, reduces soil temperature swings, and cuts down how often you need to water during hot weather.
FAQs
Will seeds from a store-bought or fast food tomato actually germinate?
Yes, in many cases they will. As long as the tomato was made from fresh fruit rather than cooked or processed into a sauce, the seeds inside are often still viable. Results vary by how fresh the tomato was and how carefully you handle seed extraction.
Since commercial tomatoes are hybrids, is it worth growing them?
Yes — you'll still get a real, productive tomato plant. The fruit it produces may differ slightly from the parent in size, texture, or flavor, but the plant is fully capable of a complete harvest. It's a worthwhile experiment and a legitimate free seed source.
Do I have to remove the gel coating from tomato seeds before planting?
It's strongly recommended. The gelatinous coating contains compounds that can suppress germination. Rubbing the seed on a paper towel removes it quickly without damaging the seed.
Is growing tomatoes in the ground better than containers?
For most gardeners — especially busy ones — yes. In-ground planting with mulch is more forgiving because the plant can draw moisture from the surrounding soil. Containers can absolutely produce great tomatoes, but they demand consistent daily attention to watering during summer heat.
How do I know if a fast food or grocery tomato is determinate or indeterminate?
Commercial slicing tomatoes are commonly determinate varieties bred for a concentrated, uniform harvest. When in doubt, use a cage from transplant time and avoid heavy pruning of the upper growth — on a determinate plant, that upper growth is where the fruit set comes from.
Your Action Plan
- This week: Next time you slice a fresh tomato from the store, set aside two or three plump seeds and try the paper towel extraction method. It costs nothing and gives you a free experiment with real upside.
- Before planting: Pre-moisten your potting mix in a bucket before filling seed-starting containers. Confirm every container has drainage holes before a single seed goes in.
- At germination time: Set up a heat mat under your seed tray and position a grow light above it. These two tools together give you the best shot at fast, healthy germination — faster than relying on room temperature alone.
- At transplant time: Decide in advance whether you're going in-ground or in a container, and plan your watering routine accordingly. Container plants need daily monitoring during summer heat; in-ground plants with a wood chip mulch layer have significantly more buffer.
- Throughout the season: Top-dress with organic fertilizer once flowers appear, check lower leaves weekly for early blight, and sterilize your pruners with isopropyl alcohol every time you remove diseased material. Small habits, consistent results.
Related blogs
Holes in your leaves? Here's the organic pest control system that matches the right tool to the right pest — before more damage is done.
August isn't too late — it's prime time for fall planting. Learn which crops to plant now, how to time them, and the tricks that actually work.
Mid-summer garden slump is normal — here's how to inventory what's still working and take action now for a strong fall harvest.
Still waiting on green tomatoes? These 5 practical methods shift your plant's energy toward ripening fruit faster — starting this week.
Skip the hilling, still get a real harvest. Here's how deep planting and one mid-season step make raised bed potatoes genuinely low-effort.
Too many tomatoes? Here are 6 practical ways to freeze, can, dry, and sauce your garden harvest so nothing goes to waste.
No yard? No problem. Learn how to grow tomatoes, peppers, and more in 5-gallon buckets with the right soil, watering, and fertilizing strategy.
Wood chips can build incredible soil — or wreck a bed. One mistake makes all the difference. Here's what actually works.
Seeds from a fast food tomato can grow into a real plant — here's how to extract, germinate, and grow them successfully.
Mid-summer struggle is seasonal, not failure. Here's how to inventory what's still working and set up a strong fall garden right now.