Wood Chips in the Garden: What Actually Works (and What Doesn't)
Wood chips can build incredible soil — or wreck a bed. One mistake makes all the difference. Here's what actually works.

Wood Chips in the Garden: What Actually Works (and What Doesn't)
Wood chips have a reputation problem. Gardeners warn each other that they rob nitrogen, acidify soil, and invite termites. Most of that reputation is either wrong or based on one specific mistake: mixing wood chips into the soil instead of laying them on top. That single error causes nearly every legitimate problem people blame on wood chips. Do it right — meaning surface application only — and wood chips become one of the most effective free soil-building tools available to a backyard gardener.
Quick Answer
Layering wood chips on top of soil is safe, beneficial, and does not rob nitrogen from your plants. Wood chips work best as a surface mulch for fruiting crops like tomatoes, peppers, and cucumbers, and for perennials like fruit trees and berry bushes. For most annual vegetable beds, shredded leaves are a better match. Neither material significantly acidifies soil when used correctly as a surface mulch.
Why Wood Chips Get Such a Bad Reputation
The nitrogen-robbing concern isn't made up — it's just triggered by the wrong action.
When wood chips get tilled or dug into soil, microbes kick off a composting process that requires nitrogen to break down all that carbon material. They pull that nitrogen from the surrounding soil, which starves your plants. If you've ever mixed wood chips into a bed and watched plants yellow out and struggle, that's exactly what happened.
Surface application is a completely different biological process.
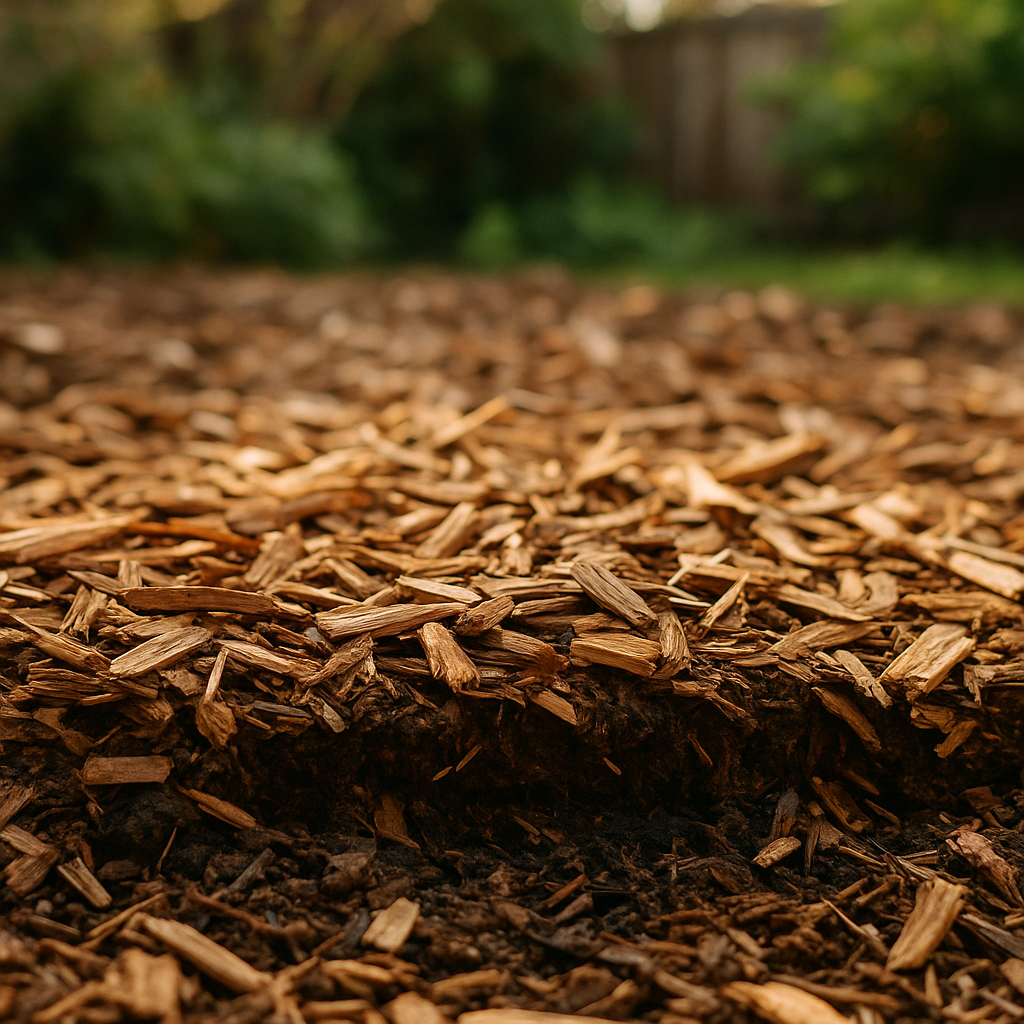
When wood chips sit on top of the soil, fungi — not bacteria — are the primary decomposers. Fungi don't draw nitrogen from the root zone the way soil-driven composting does. Instead, they slowly convert the carbon material into humic acid and humus, rebuilding soil structure over time. The mistake isn't using wood chips. It's treating them like a soil amendment you dig in rather than a mulch you lay on top.
How Wood Chips Actually Build Soil
The soil-building effect of wood chips is real, but it's slow. This is a long-term investment, not a quick fix.
In poor sandy soil or compacted clay, layering wood chips consistently over several seasons creates a visible layer of dark, crumbly humus between the chips and the native soil beneath. Dig down after two or three years in a well-mulched area and the change is obvious. That humus improves water retention in sandy soil and loosens compaction in clay.
Here's what the process looks like over time:
- Apply wood chips at the correct depth (see below).
- Fungi colonize the chips and begin breaking them down from the bottom up.
- Humic acid is released, improving soil aggregation and structure.
- Year over year, a deepening layer of humus forms above the native soil.
- Add a fresh layer of chips on top each year — never remove what's already decomposing beneath.
That last step is one most gardeners skip. Pulling out old mulch at the end of the season throws away the humus you spent a full year building.
How Deep Should You Apply Wood Chips?
Depth matters more than most gardeners realize. Here are the right targets:
- Annual vegetable beds and fruiting crops (tomatoes, peppers, cucumbers): 2–4 inches
- Perennial plantings (fruit trees, berry bushes, asparagus): 6 inches
The deeper layer around perennials lasts two to three years before needing a refresh. The shallower layer in annual beds is much easier to work around when you're transplanting or direct seeding in spring.
Wood Chips vs. Shredded Leaves: Which One Does Your Garden Need?
Both materials work well. They just work differently, and matching the right mulch to the right bed makes a noticeable difference.
Wood chips create a fungal-dominated soil environment. Fungi thrive on carbon-dense wood, and a fungal soil ecology is the preferred environment for perennials and fruiting crops. Tomatoes, peppers, cucumbers, melons, fruit trees, and berry bushes all perform better in fungally active soil.
Shredded leaves create a more bacterial soil environment. That suits most annual vegetables — lettuce, cabbage, kale, root crops, and beans — which naturally prefer a bacteria-forward soil cycle. Leaves also break down faster than wood chips, which is actually a feature in an annual bed: partial decomposition within one season means worms move in quickly, and by the following spring, much of the leaf material has already converted to organic matter.
A quick way to decide:
- Fruiting crops and perennials → wood chips
- Annual vegetable beds with regular replanting → shredded leaves
One important note on leaves: shred them before use. Whole leaves pile together and mat into a layer that sheds water and creates anaerobic pockets. Run them over with a lawn mower or use a leaf blower set to vacuum mode. Diced leaves break down evenly and stay loose enough for air and moisture to move through.
Why Tomatoes Especially Benefit from Wood Chip Mulch
Consistent soil moisture is one of the most important factors in a productive tomato season. Uneven watering — soil drying out between rains and then getting drenched — is one of the primary causes of blossom end rot and cracked or misshapen fruit. Wood chips directly address this.
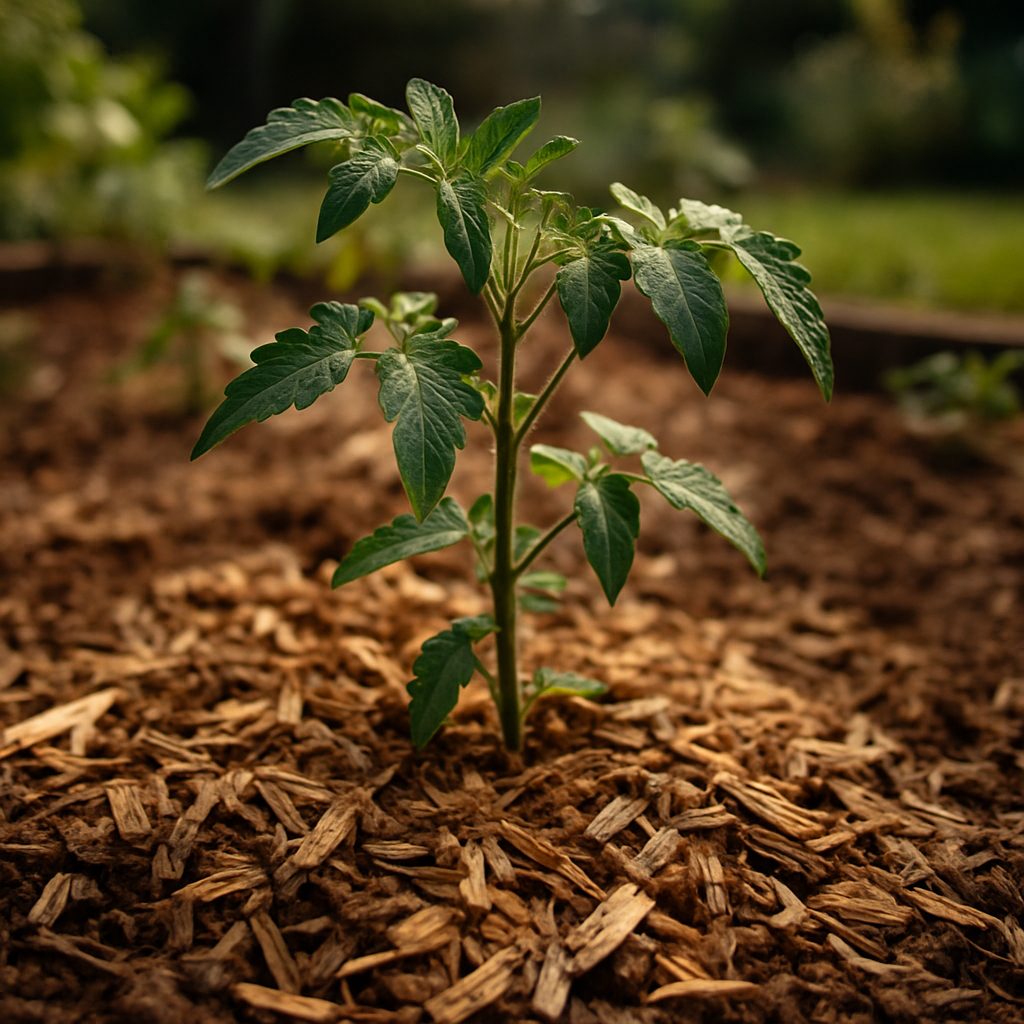
Wood chips form a dense but breathable mat at the soil surface that slows evaporation significantly better than bare soil or even shredded leaves. They also buffer soil temperature, keeping roots cooler during summer heat spikes. For indeterminate tomato varieties that stay in place all season, wood chips go down once after transplanting and keep working without any mid-season intervention.
Apply a 2–4 inch layer of wood chips around tomato transplants after they're in the ground. Keep the chips a few inches back from the main stem to allow airflow and avoid rot. That's it — no moving them, no reapplying mid-season in most cases.
Using Shredded Leaves in Raised Beds Through Winter
Fall is the right time to stock up on shredded leaves, and most of the supply is free. Ask neighbors to save their bagged leaves instead of putting them at the curb. Collect as many bags as you can store, then run them through with a lawn mower to dice them down before spreading in your beds.
For raised beds specifically, shredded leaves as an overwinter mulch:
- Protect soil structure from compaction caused by heavy rain and frost cycles
- Feed soil biology slowly through the cold months
- Require almost no cleanup before spring planting — just push aside, open a planting pocket, and go
A thin layer of partially decomposed leaves left in place when you plant is not a problem. A few leaves accidentally worked into the soil at planting time may actually attract beneficial worm activity. The risk with leaves is using large volumes of whole, undiced leaves mixed into soil — they can mat together and create minor nitrogen competition. The same basic principle as with wood chips, just less severe.
Common Mistakes
1. Mixing Wood Chips Into Soil Instead of Layering on Top
This is the source of nearly every legitimate nitrogen-robbing complaint. Wood chips belong on the surface only. If you've done this in the past and had problems, that's why — and it's an easy fix going forward.
2. Using Cedar Chips Near Young Seedlings
Cedar contains natural aromatic compounds that can inhibit germination and slow establishment in sensitive young plants. Cedar chips are fine around established perennials, but keep them away from seedling areas and transplants that haven't rooted in yet.
3. Using Black Walnut Chips Without Composting First
Black walnut wood contains juglone, a compound that actively suppresses plant growth. Chips from black walnut should be composted for 6–12 months before use in any garden bed. If you're not sure of the source when accepting a free delivery, ask before spreading.
4. Removing Wood Chips at the End of the Season
This discards the accumulated humus forming beneath the chips and resets your soil-building progress. Leave existing chips in place and add a fresh layer on top each year. That accumulating layer beneath is the whole point.
5. Assuming Wood Chips Will Acidify Your Soil
Research consistently shows that surface-applied wood chips have a neutral effect on soil pH. The mild acids produced during fungal decomposition are quickly buffered by the surrounding soil. You don't need to test or adjust pH because of wood chip mulch.
FAQs
Do wood chips steal nitrogen from the soil?
Only when mixed into soil, where decomposing carbon material pulls nitrogen from the surrounding area to fuel the process. Layered on the surface, wood chips decompose through fungi and do not pull nitrogen from the root zone where your plants feed.
Do wood chips attract termites?
No. Termites target dry wood. Surface wood chip mulch retains consistent moisture — not the dry conditions termites seek. This concern is widespread and largely unfounded for garden applications.
Are all types of wood chips safe to use?
Most are. Cedar chips should be kept away from seedlings and young transplants. Black walnut chips need to be composted for at least 6 months before garden use due to juglone content. Pine chips, including those with needles mixed in, are safe and effective.
Where can I get free wood chips?
Contact local tree trimming or arborist companies. They routinely need to dispose of chips and will often deliver a full truckload at no charge to anyone willing to take it. Getting on a few local delivery lists is usually all it takes.
Can I use wood chips in raised beds?
Yes, with the right approach. Use shredded leaves as the primary mulch for annual raised beds where you replant each season. Reserve wood chips for permanent raised beds with perennials, or as a surface mulch around fruiting crops like tomatoes that stay in one place all season.
Your Action Plan
Put this into practice now rather than waiting for the perfect season.
- Map your garden this week. Identify which areas are permanent (fruit trees, berry bushes, asparagus beds) and which are annual rotation beds. That single distinction determines which mulch each area needs.
- Contact one or two local tree service companies. Ask to be added to their list for free wood chip deliveries. Apply 6 inches deep around perennials and 2–4 inches around tomatoes and other fruiting crops.
- Ask neighbors to save their fall leaves instead of bagging them for the curb. Store the bags and shred with a lawn mower before spreading in raised beds come spring.
- At tomato planting time, lay a 2–4 inch layer of wood chips around each transplant after it goes in the ground. Keep chips a few inches back from the stem. This one step reduces moisture stress significantly through the season.
- Stop removing old mulch at the end of the season. Whatever wood chips are already in place, leave them. Add fresh material on top and let the layers keep building. That accumulating humus is exactly what you're working toward.
Wood chips aren't the enemy. Used as a surface mulch, they're one of the most effective free tools a backyard gardener has. The method makes all the difference.
Related blogs
Holes in your leaves? Here's the organic pest control system that matches the right tool to the right pest — before more damage is done.
August isn't too late — it's prime time for fall planting. Learn which crops to plant now, how to time them, and the tricks that actually work.
Mid-summer garden slump is normal — here's how to inventory what's still working and take action now for a strong fall harvest.
Still waiting on green tomatoes? These 5 practical methods shift your plant's energy toward ripening fruit faster — starting this week.
Skip the hilling, still get a real harvest. Here's how deep planting and one mid-season step make raised bed potatoes genuinely low-effort.
Too many tomatoes? Here are 6 practical ways to freeze, can, dry, and sauce your garden harvest so nothing goes to waste.
Break your raised bed into a simple grid and grow 2–3x more food from the same space. Here's exactly how to set it up.
No yard? No problem. Learn how to grow tomatoes, peppers, and more in 5-gallon buckets with the right soil, watering, and fertilizing strategy.
Wood chips can build incredible soil — or wreck a bed. One mistake makes all the difference. Here's what actually works.
Seeds from a fast food tomato can grow into a real plant — here's how to extract, germinate, and grow them successfully.